

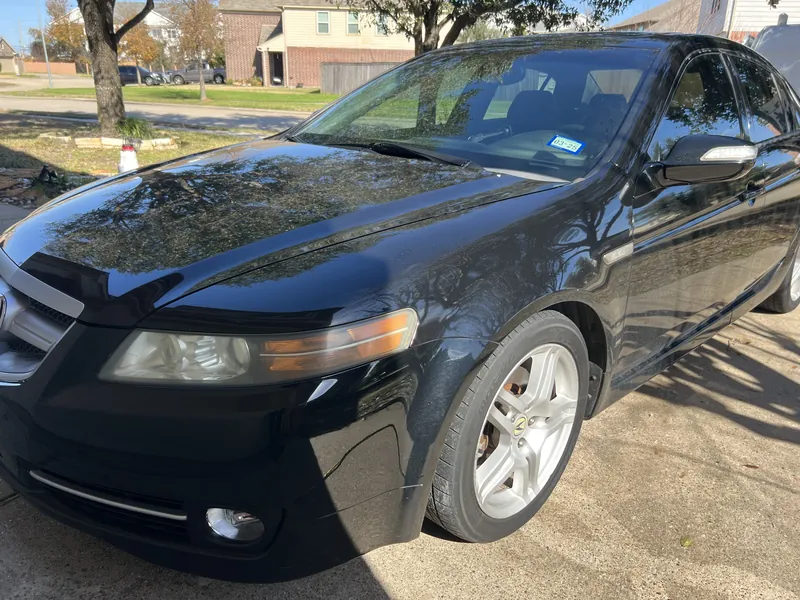
You've found a scratch. Maybe it's a line from a branch along the driver's door, or a mark on the bumper from a shopping cart. The first question is always the same: can it be polished out, or does it need paint?
The usual advice is the fingernail test. It's a good place to start, and we ask clients to try it before they send us photos. But it's a rough guide, not a measurement, and it can mislead you in both directions. Here is how to do it properly, what the result usually means, and the specific ways it can mislead you.
First, what a scratch actually is
Modern factory paint is built in layers. From the metal up: a protective e-coat, primer, the base coat that carries the color, and a transparent clear coat on top. The clear coat is the thickest of those layers, but on a typical factory finish it's still only about 35 to 50 microns thick, roughly 1.5 to 2 thousandths of an inch. That's thinner than a sheet of printer paper.
Most swirl marks and light scratches sit in that clear coat. Paint correction works by using a machine polisher with abrasive compounds and polishes to level the clear coat down to the bottom of the defect, so light reflects evenly again. Nothing is filled or hidden. That's also its limit: clear coat that's polished away doesn't grow back. So whether a scratch is correctable comes down to two questions:
- How deep does the scratch go?
- How much clear coat is there to work with on that panel?
The fingernail test tries to answer the first question. It can't answer the second at all.
How to do the fingernail test
- Wash and dry the area. Dirt in or around a scratch changes how it feels and how it looks.
- Find the right light. Look in direct sunlight, or hold a phone flashlight at an angle to the paint. Scratches show most at a reflecting angle, not with the sun at your back.
- Run a fingernail gently across the mark, not along it. You're feeling for whether the nail catches on an edge.
What the result usually means
These four outcomes match the self-check in the diagnose section of our paint correction page.
1. No catch: swirls and light marring
Fine circular or spiderweb scratches that show in sun or under lights, while the paint feels smooth. They sit in the top of the clear coat. These are correctable in most cases, usually with One-Step Paint Correction.
2. A slight catch, or you can only just feel it: a light scratch
Often at or near the bottom of the clear coat. Some are still within it; some have just gone past it. A scratch like this may be reduced, and sometimes removed, but full removal isn't guaranteed. Paint-thickness readings decide how far it's safe to go. This is usually Two-Stage territory.
3. It drags: a deep scratch
Likely through the clear coat into the color layer. It usually can't be polished out. It can look less obvious once the paint around it is corrected, but it normally needs touch-up or refinishing.
4. It drags, and you see a different color or bare metal
You're looking at primer or metal. Correction can't add paint back, so this needs paint, not polishing: a touch-up or a body-shop repair. A scratch that looks gray and dull usually means primer is exposed. Don't rely on the exact color, though. Primer colors vary between manufacturers, so the simple rules you'll see online about what each color means aren't dependable.
Where the fingernail test is wrong
It isn't a measurement
Your fingernail has no scale. Detailing shops themselves describe the test as not as precise as a paint depth gauge, and some scratches that catch a nail are still within the clear coat. Those are judgment calls. A scratch that catches may still be correctable, or at least reducible, when the paint on that panel is thick enough.
A smooth edge can hide a deep scratch
The opposite mistake happens too. Longtime detailing educator Mike Phillips has pointed out that an abrasion can leave a smoother "featheredge," so a scratch with softened edges may not catch a nail even when it's deeper than it looks. Touch alone can't tell you how deep a scratch goes.
It tells you nothing about the paint around the scratch
This is the biggest gap. Two cars with the same scratch can have very different answers, because the amount of paint on each panel varies. Total factory paint thickness varies by make and by panel, and a panel that's been repainted or polished before may have less clear coat than you'd assume. Your fingernail can't feel any of that.
That's why every Azul paint correction starts with paint-thickness readings on the metal panels. A standard gauge reads the total paint on each panel, down to the metal. It can't isolate the clear coat on its own, but it reveals thin spots and repainted panels, which is exactly where we go gentler. Plastic bumpers and composite parts can't be read this way, so we judge them visually and correct them conservatively.
Not every mark is a scratch
Several defects you'll see on Houston cars don't catch a nail at all, because they aren't scratches:
- Etching from bird droppings and bugs shows up as dull marks with defined edges. It's sometimes correctable; deep etching may only improve.
- Water spots. Houston's city water is hard, averaging about 136 mg/L. Mineral spots sitting on top of the paint are treated during prep. Spots that have etched into the clear coat need correction, and deep etching may only improve.
- Holograms and buffer trails are hazy trails, usually from an earlier machine polish done badly, visible in direct sun. They're correctable with correct re-polishing.
- Oxidation looks dull, chalky or faded. On single-stage paint, common on older and classic cars, it can often be polished off. If the clear coat itself is failing (peeling, flaking or cloudy patches), polishing can't fix it.
Paint color changes what you see
Swirls and scratches catch light and show up white or gray. On black and dark blue paint that contrast is obvious. On white, silver and light gray paint, the same scratches are there but much harder to see, often only near the sun's reflection. A scratch that seems minor on a white car may be the same depth as one that looks alarming on a black one.
Why "correctable" doesn't always mean "remove all of it"
Even when a scratch is within the clear coat, removing every trace of it may not be the right call. Every pass removes clear coat that won't come back, and the clear coat is part of what protects the color underneath from UV. Azul puts paint preservation ahead of chasing complete defect removal. If further polishing would compromise your clear coat, we stop and explain why.
For isolated deep defects, Multi-Stage Paint Correction can include careful spot wet-sanding where the readings allow, never across whole panels. Whether that's appropriate is decided on the car, not in advance.
This is also why we don't promise a percentage of defect removal. The honest-limits section of our paint correction page lists what polishing can and can't fix, and what fixes the rest.
What we do instead of guessing
Your fingernail test gets us started. Before we quote, we ask for photos; on the day, we measure and test.
- Photos first. Send front and rear three-quarter views of the whole car, close-ups of the worst areas in direct sun or with a flashlight at an angle, and, for a deep scratch, one close-up with a fingertip beside it for scale. Tell us about any repaints, body work or earlier polishing.
- Inspection and readings. On the day, we inspect panel by panel under correction lighting and take paint-thickness readings.
- A test section you see. We correct part of the hood and show you the before and after. If Two-Stage might be needed, we correct one test section each way, side by side, and you choose how we proceed.
Azul's mobile paint correction starts at $549 for One-Step Paint Correction (about 4 to 5 hours) and $749 for Two-Stage Paint Correction (about 5 to 7 hours), before applicable tax. Multi-Stage Paint Correction is quoted after assessment. If a scratch can't be fixed by polishing, we'll tell you at the photo assessment and point you to what does fix it.
Send us your scratch
Do the fingernail test, then text 4–6 photos to 713-386-9945 with your vehicle's year, make and model. We'll tell you what's realistic, which level we'd recommend and the price, before you spend anything. The assessment is free, with no obligation. And if you're wondering why we won't quote a removal percentage, read why Azul doesn't advertise a percentage for paint correction.